Technology R&D

Material Evaluation Center

Reserch/Analysis Item
- Surface observation
- surface, cutting and fractured cross section
- Film properties
- Observation of dirt and foreign matter
- Mechanical properties
- Fatigue test
Nakamura-style rotary bending / hunter type - Tensile strength
- Torsional test
- Bending test
- Winding test
- Fatigue test
- corrosion resistance
- Salt spray/wetness test
- Combined cycle testing
- Cross-sectional tissue observation
- Observation of plating layers and steel metal structure
- Plating layer thickness
- Cross-sectional shape
- Plating characteristics
- Plating layer thickness
- Plating adhesion amount
- Observation of plating layer tissue
- Hardness measurement
- Vickers hardness measurement
- Composition and component analysis
- Composition and component analysis of samples
- Foreign matter analysis
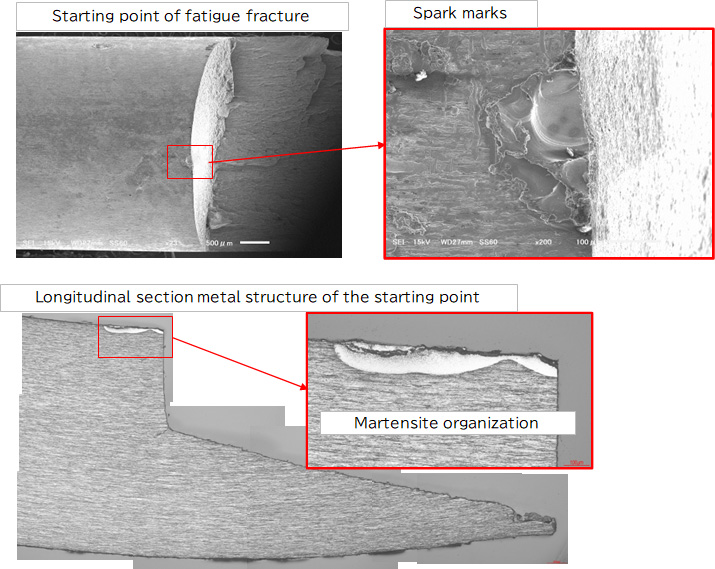
Fracture surface observation by SEM(Scanning electron microscope)
① Case of fatigue fracture of steel wire
Case1 Fatigue fracture surface characteristics
Ratchet mark
Fatigue fracture progresses at multiple points at the same time, so a stepped fracture surface can be seen.
Beach mark
Fatigue fracture starts from the surface layer and cracks progress radially inside.

Case2 Fatigue fracture starting from sparks generated on the surface during electroplating

② Case of stress corrosion cracking of steel wire
The crack progresses diagonally from the surface layer to the inside in a lightning-like manner.

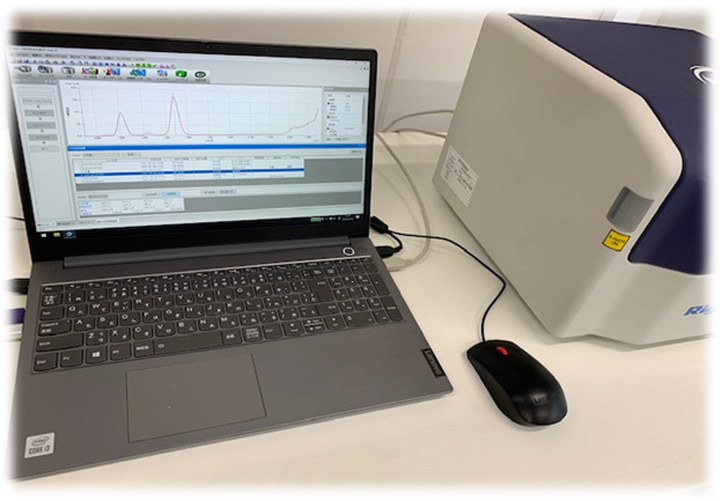
Introduced a fluorescent X-ray analyzer (February 2021)
By using high-resolution X-rays for the excited electromagnetic waves, highly accurate qualitative and quantitative analysis becomes possible.


